Whether you’re treating a stationery-loving friend (or yourself, I fully support self-gifting), nothing beats a thoughtfully curated gift box filled with joyful, useful, and very cute things. But if you’re not sure where to start, don’t worry, I’ve got you covered!
Here’s your step-by-step guide to building the perfect stationery gift box, complete with my new gift wrap and card upgrade, so it arrives looking every bit as lovely as what’s inside.
Step 1: Pick a Theme (or a Vibe)
Is this gift all about motivation? Self-care? Pure stationery indulgence? Starting with a theme helps you build a box that feels cohesive and personal.
Here are a few ideas to get you going:
-
Productivity + Planning - Weekly planners, habit trackers, and motivational stickers.
-
Cheer Up Kit - A fun keyring, a colourful notepad, and a little treat.
-
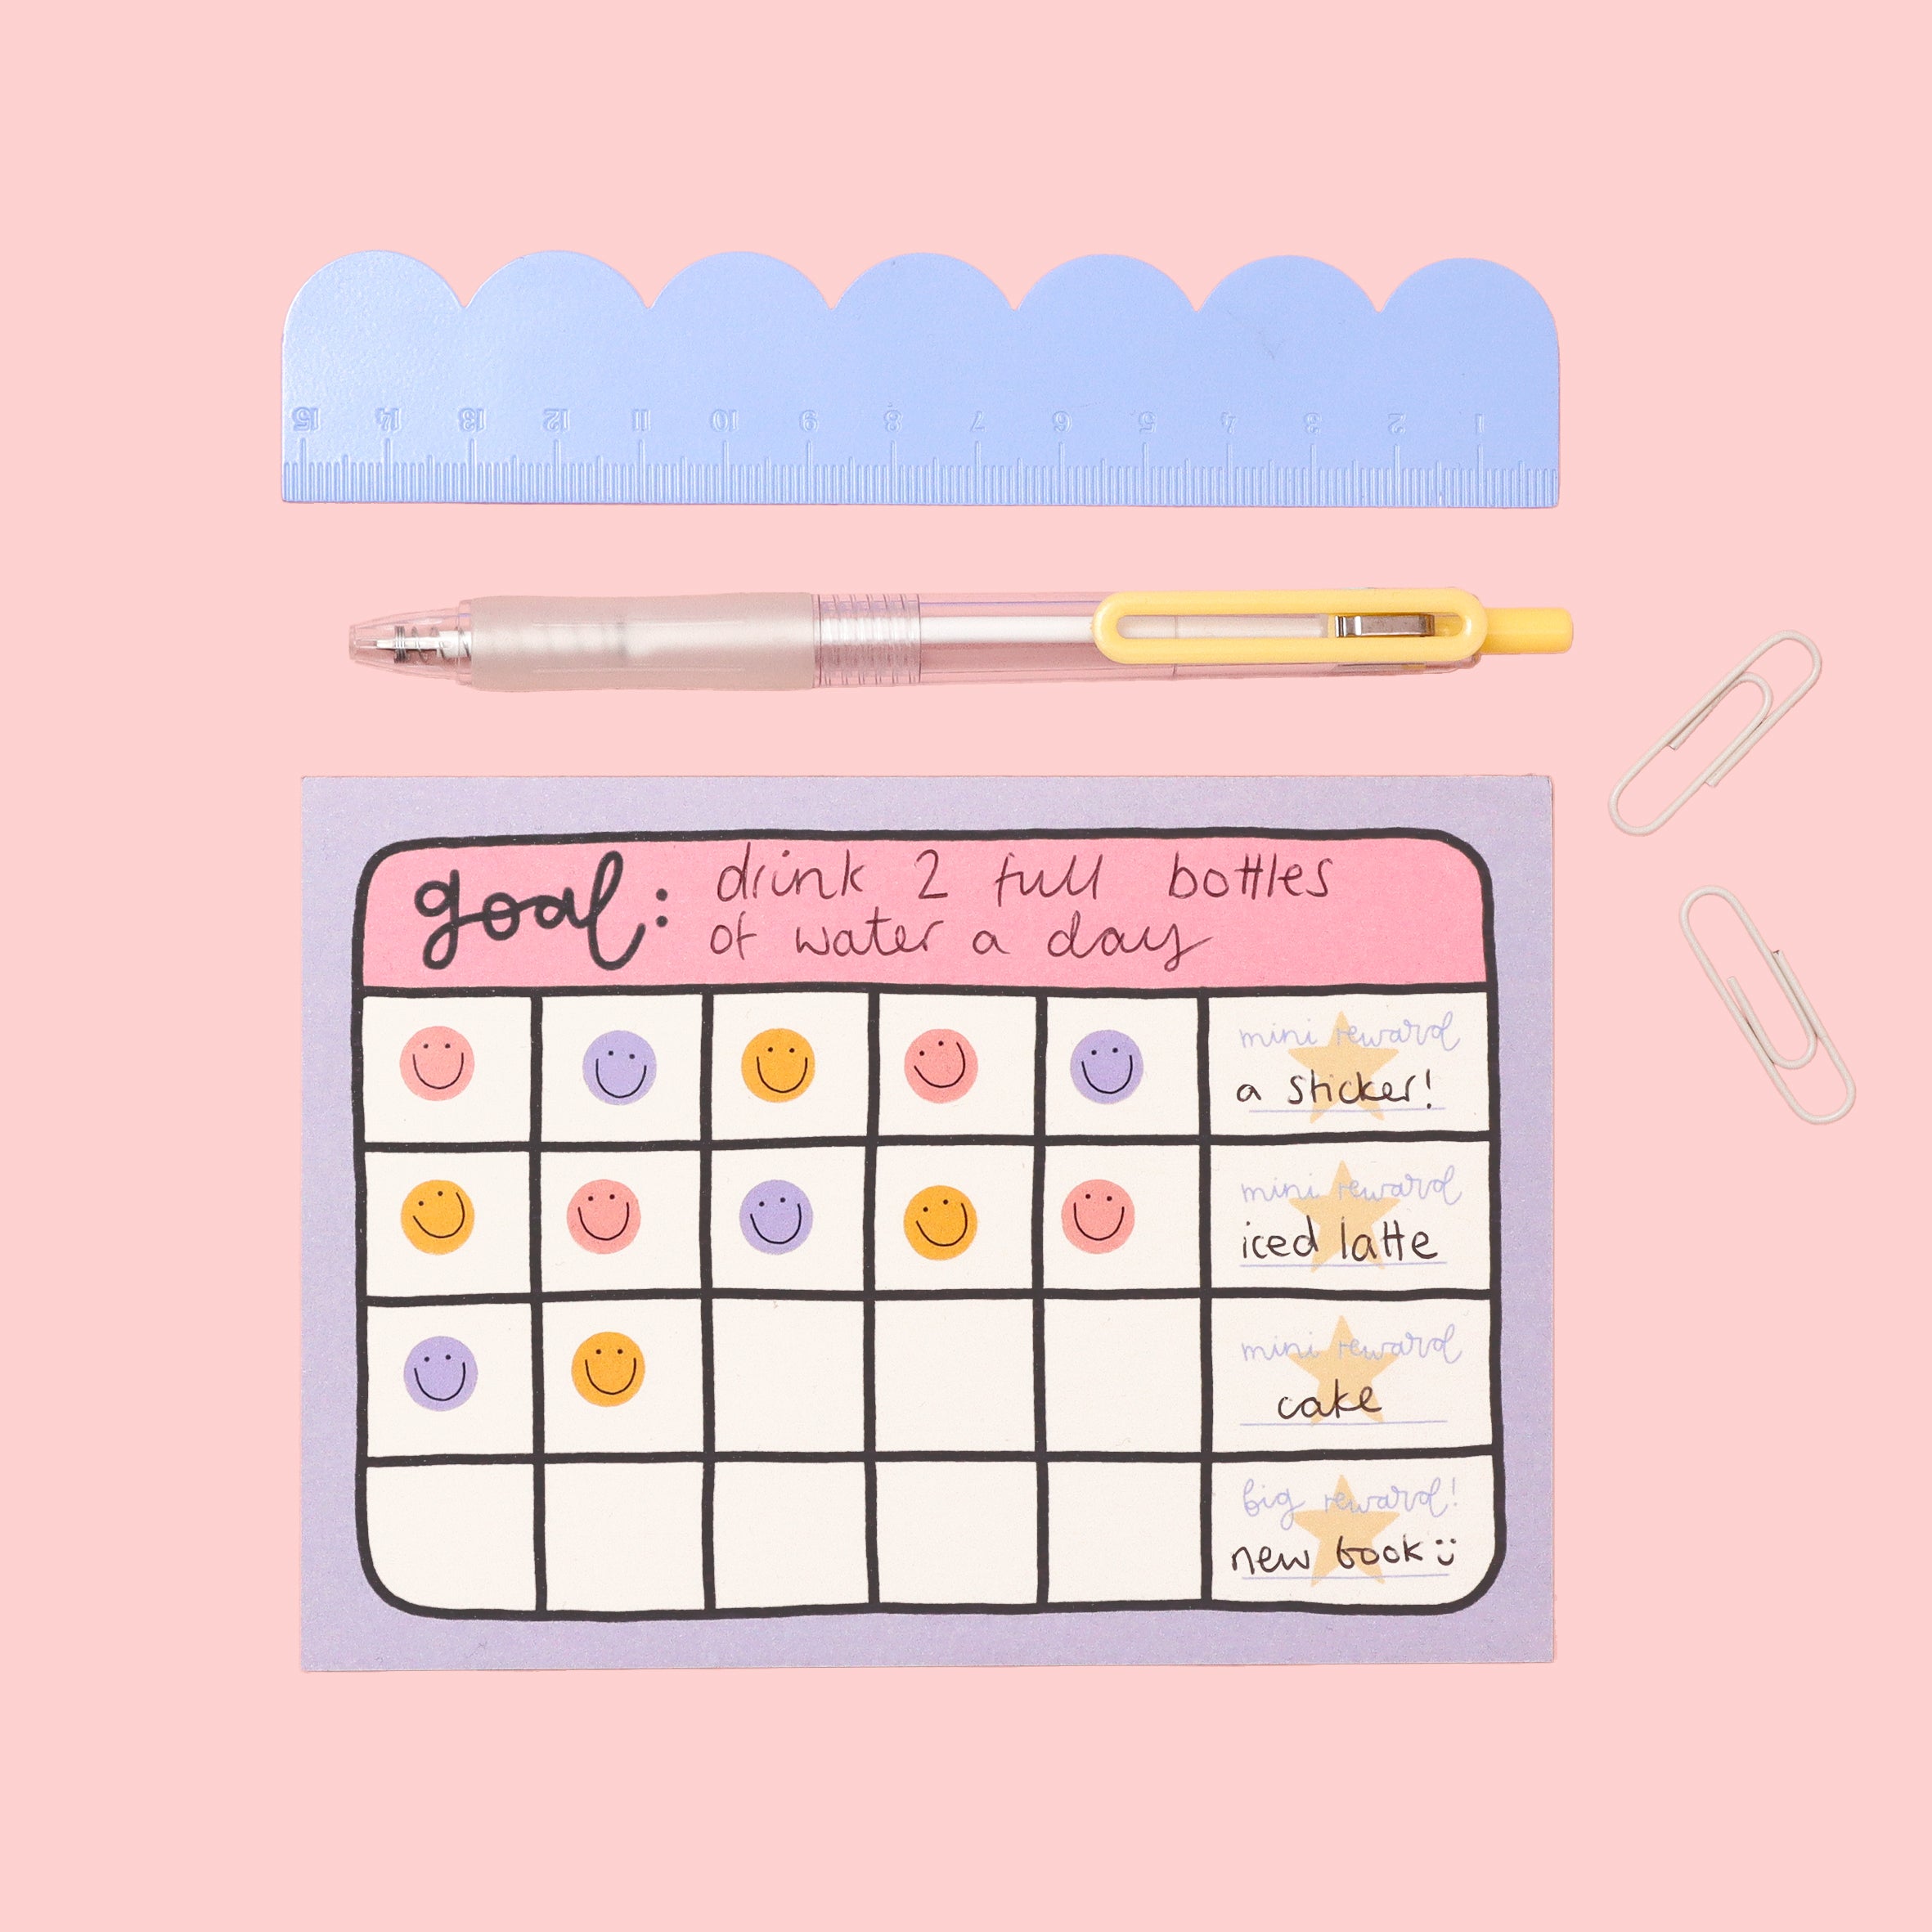
The Busy Brain Box - ADHD-friendly tools like the reward chart, wipe-clean pads, and calm, encouraging stickers.

Step 2: Mix and Match Your Favourites
Think variety: a mix of practical and playful makes your gift box feel full and thoughtful. Some winning combos:
A keyring with personality and…
A notepad or planner pad they’ll actually use and…
A sheet of fun stickers to brighten their day!
You can also add:
-
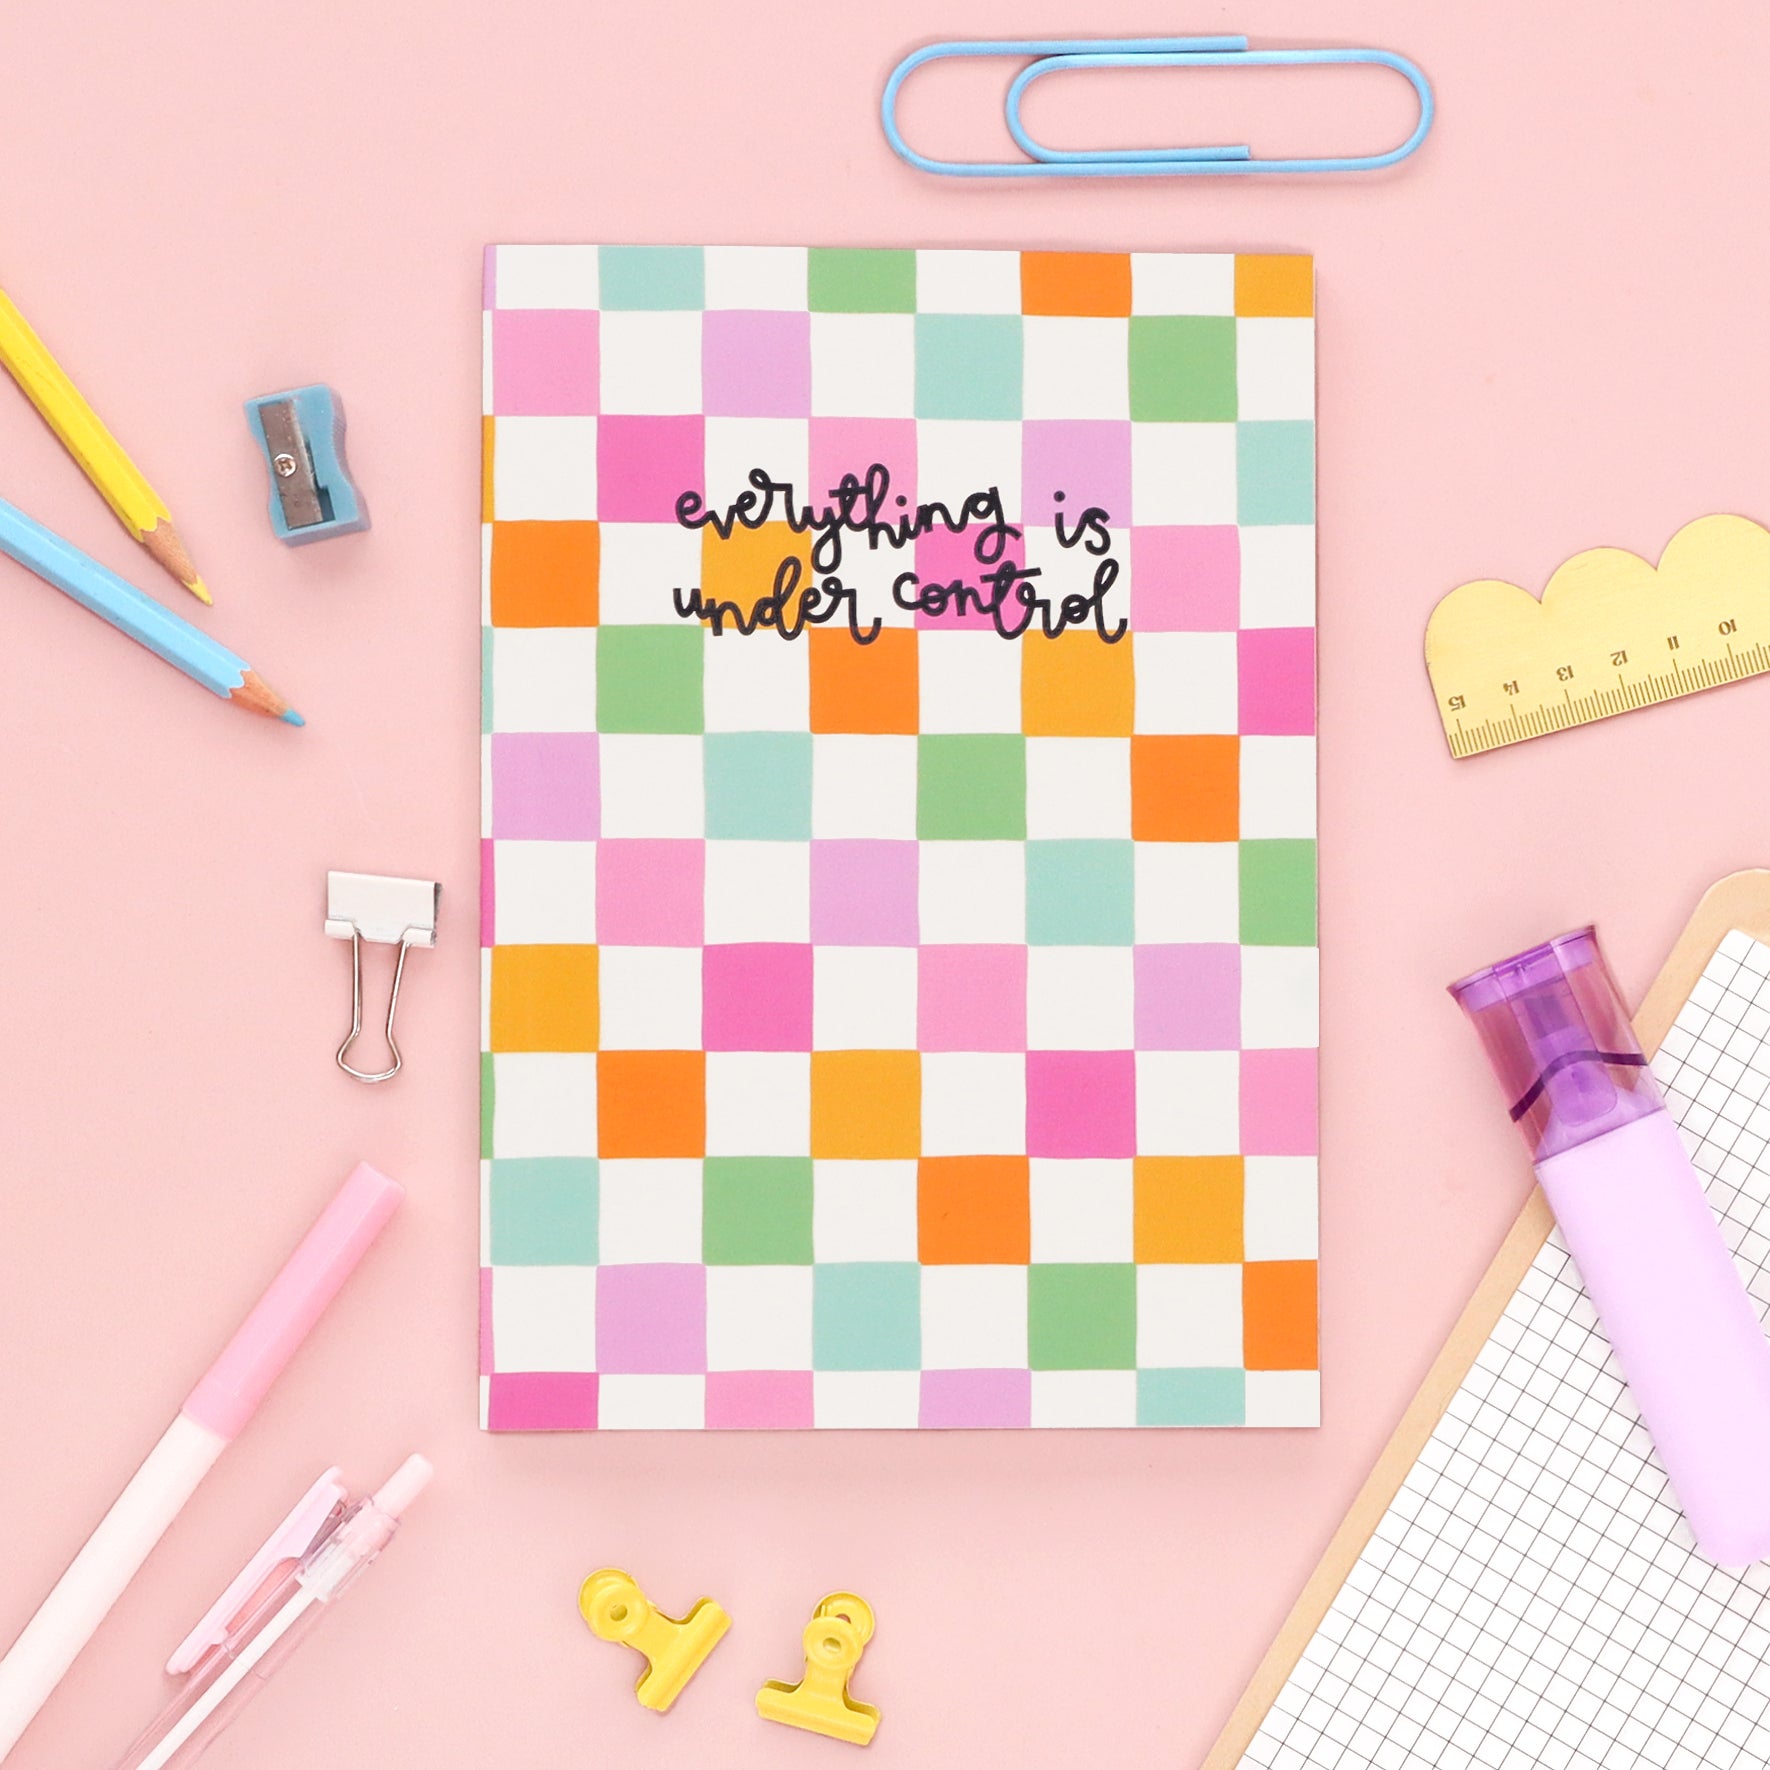
A dot-grid notebook for journalling or sketching
-
A reward chart pad for fun goal-setting
-
Habit tracker pad to help build new routines

Step 3: Add the Finishing Touches
Here’s where the magic happens.
Now, when you check out, you can upgrade your gift with:
-
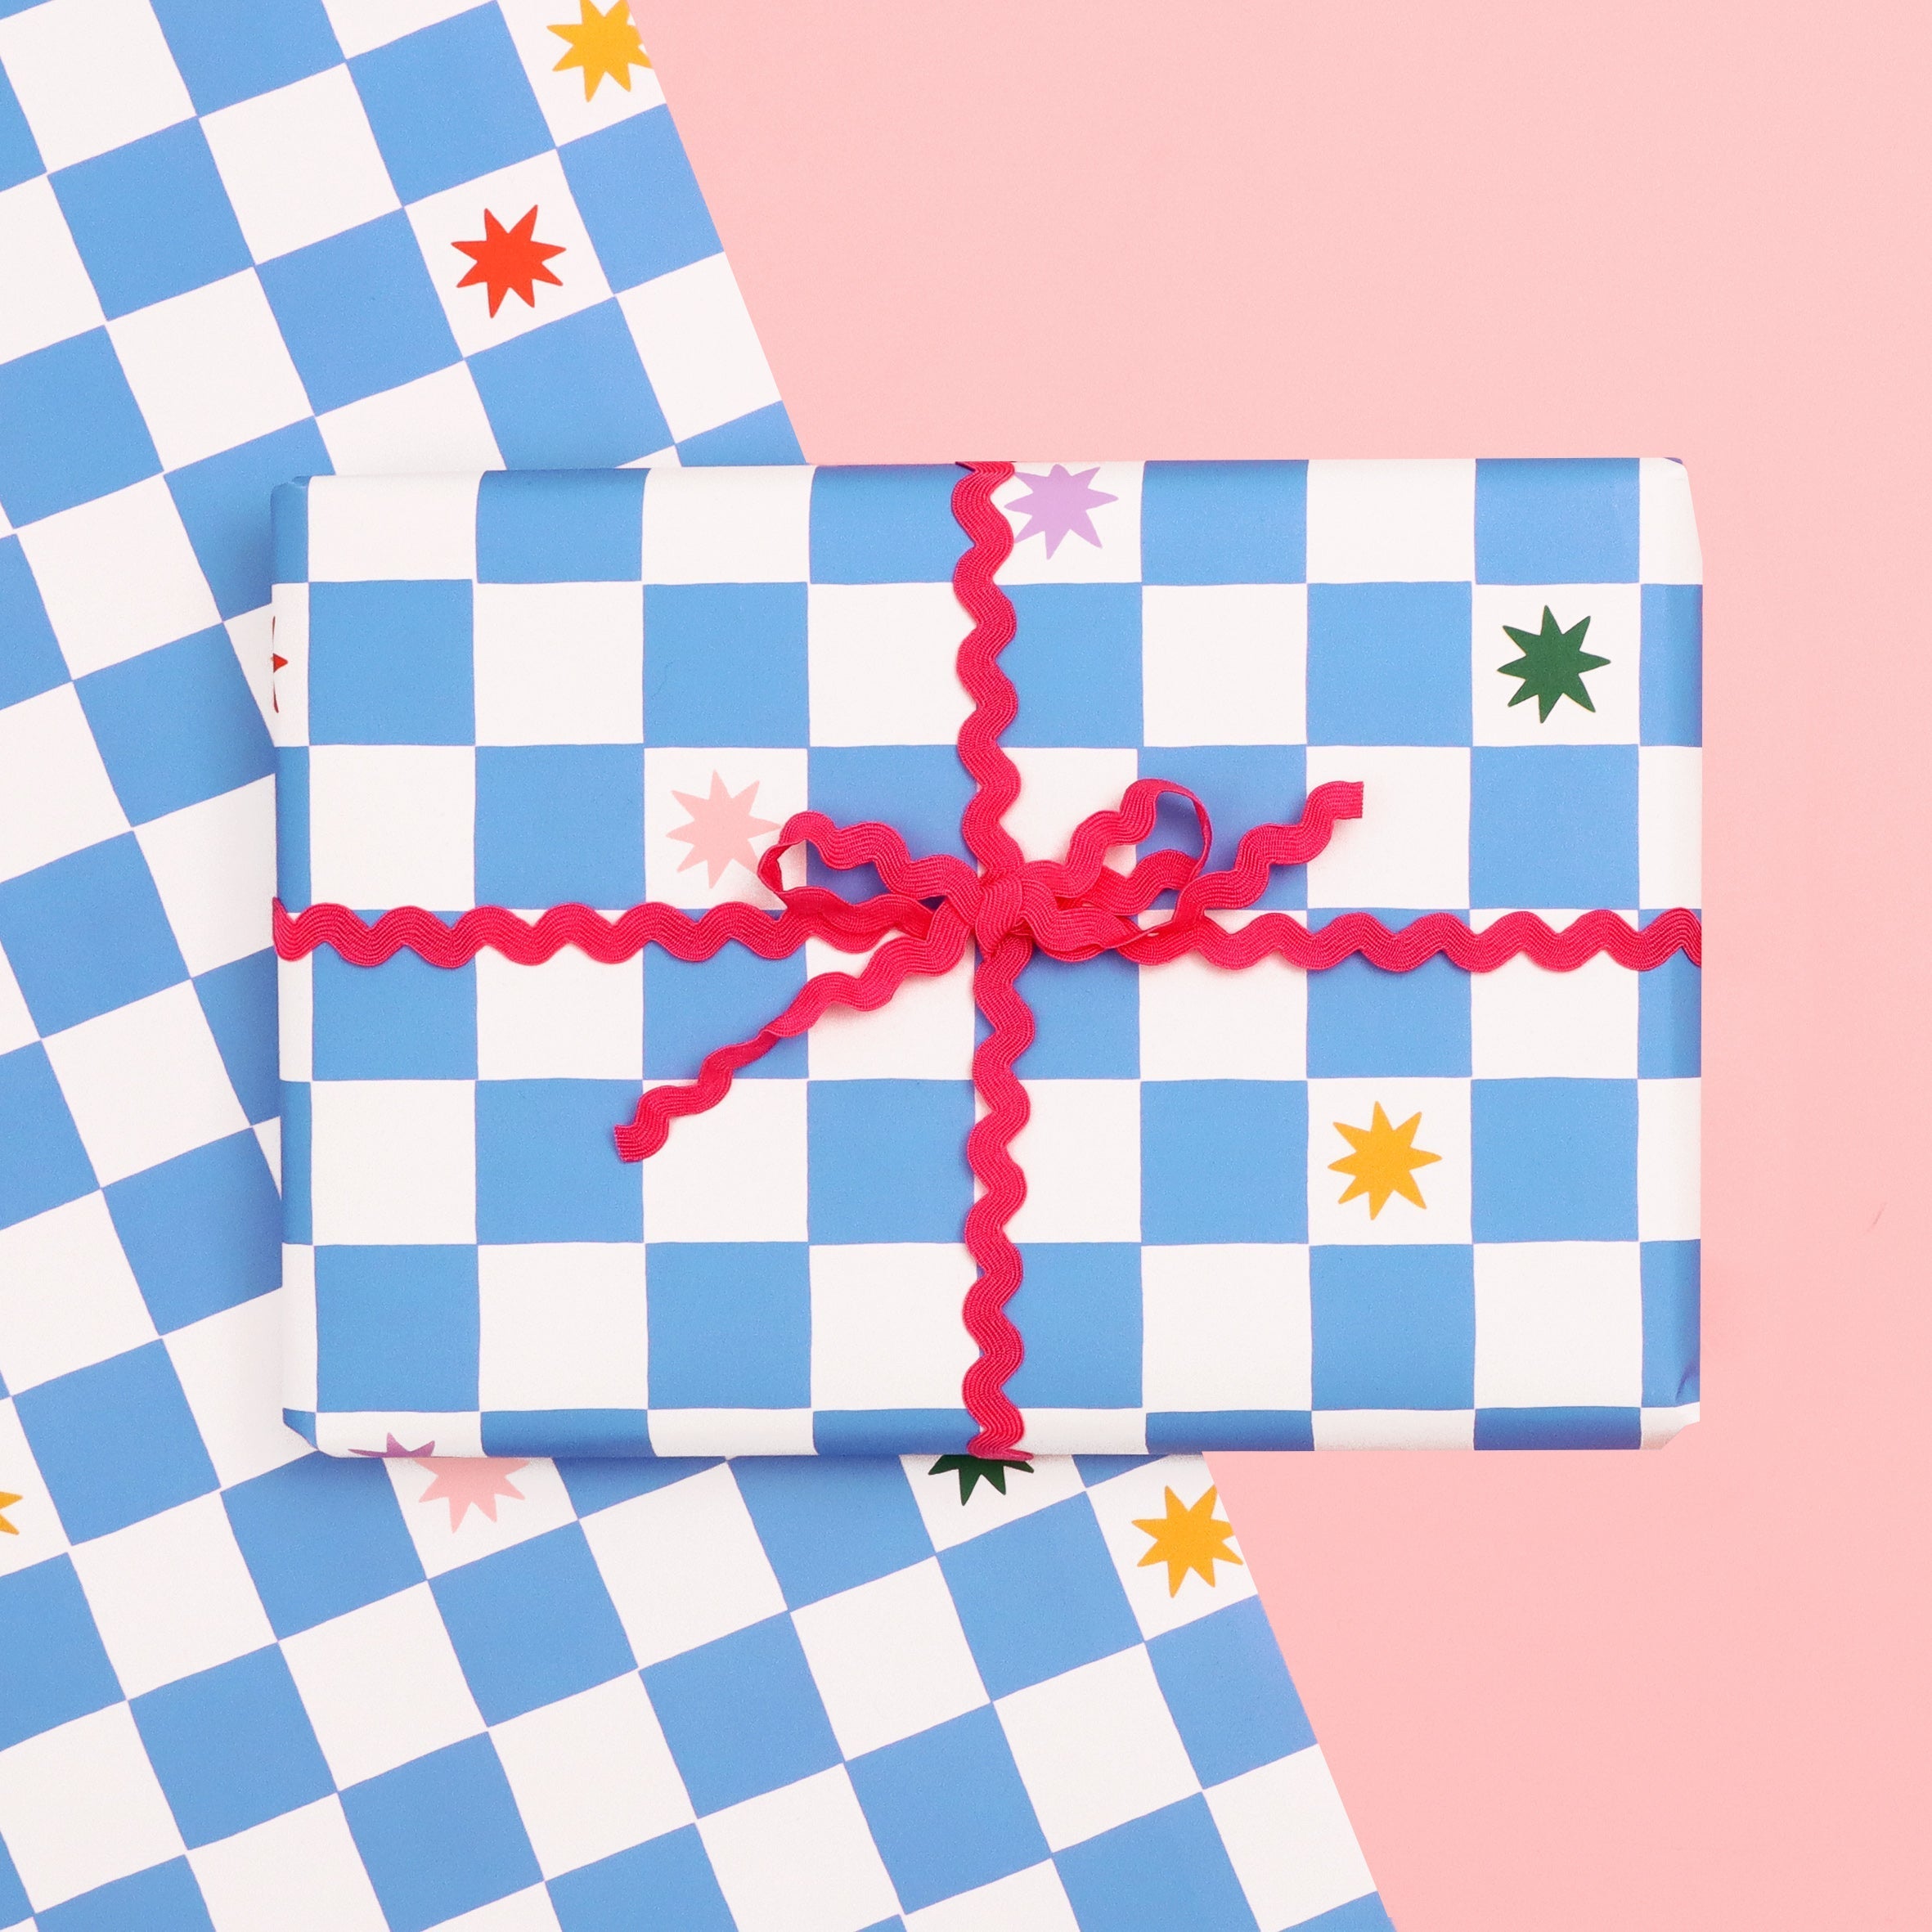
My brand new wrapping paper in one of six joyful patterns
-
A handwritten card with your message
-
Everything wrapped and ready to give, no tape, no stress
It’s the kind of small detail that makes a big difference. And it saves you the hassle of doing it yourself!
Build Your Gift Box in Minutes
Whether it’s a birthday, a little thank you, or just because, the perfect stationery gift box is only a few clicks away.


